How to Test a Starter for Cars, Motorcycles, and Mowers

A faulty starter can leave you stranded, whether you’re driving a car, riding a motorcycle, or mowing your lawn. But how can you test a starter to identify the problem? You can follow simple steps to check if the starter is working correctly. Testing involves examining the battery, connections, and starter motor. How can you test a starter safely? Always disconnect the battery and use proper tools. If you’re wondering how can you test a starter without professional help, this guide will show you how. So, how can you test a starter and fix your vehicle? Let’s get started.
Key Takeaways
A bad starter can stop your car from working. Spotting problems early can help avoid being stuck.
Always unplug the battery before testing. Use tools like a multimeter and jumper cables to test safely.
Check the battery power first. A good battery should show at least 12.6 volts. Low power might mean the battery is weak.
Look at the connections for rust or damage. Clean them and make sure they are tight to avoid problems starting.
If the starter turns but doesn’t work, the solenoid or starter gear might be broken. Check these parts for damage or wear.
Understanding the Starter and Starting Systems
What is a Starter?
The starter is a critical component in your vehicle's starting system. It is an electromechanical device that cranks the engine to begin the internal combustion process. When you turn the ignition key or press the start button, electrical current flows from the battery to the starter motor. This activates a pinion gear, which engages with the engine's flywheel. The starter then converts electrical energy into mechanical energy, driving the crankshaft to initiate engine rotation. Without a functioning starter, your vehicle cannot start.
Key Components of a Starting System
The starting system relies on several interconnected parts to function effectively. Understanding these components helps you diagnose potential issues.
Starter motor
The starter motor is the heart of the starting system. It generates the mechanical energy needed to crank the engine. This small but powerful DC motor works by drawing electrical power from the battery and converting it into rotational force. The motor's performance directly impacts how quickly and smoothly your engine starts.
Solenoid
The starter solenoid acts as a bridge between the battery and the starter motor. When you activate the ignition, the solenoid receives an electrical signal. It then closes the circuit, allowing current to flow to the motor. The solenoid also pushes the pinion gear into the flywheel, ensuring proper engagement.
Battery and wiring
The battery provides the electrical energy required to power the starter motor and solenoid. Proper wiring ensures the current flows efficiently. Loose or corroded connections can disrupt this flow, leading to starting problems.
How the Starter Works in Cars, Motorcycles, and Mowers
The basic operation of a starter remains consistent across vehicles, but there are slight differences in how it interacts with each type of engine.
Cars
In cars, the starter motor engages with the flywheel to crank the engine. The starter solenoid ensures the pinion gear meshes correctly with the flywheel. A car's starting system typically requires a high-capacity battery to handle the motor's power demands.
Motorcycles
Motorcycles use a smaller starter motor due to their compact engines. The solenoid and battery work similarly to those in cars, but the system is designed to fit within the motorcycle's limited space. The starter motor must deliver enough torque to overcome the engine's compression.
Riding mower starting system
The riding mower starting system operates on the same principles but is tailored for small engines. The starter motor engages the flywheel to crank the engine. The solenoid and battery work together to provide the necessary power. Regular maintenance of the starter motor and solenoid is essential for smooth operation.
Symptoms of a Faulty Starter
When a starter begins to fail, it often shows warning signs. Recognizing these symptoms early can save you from unexpected breakdowns. Below, you’ll find common signs of a faulty starter across all vehicle types, as well as specific symptoms for cars, motorcycles, and riding mowers.
General Symptoms Across Vehicles
A faulty starter can cause several noticeable issues. Here are some of the most common symptoms:
You hear a clicking sound when turning the key, but the engine doesn’t crank.
Nothing happens when you turn the key, leaving the engine unresponsive.
The starter makes unusual noises, such as whirring or grinding.
The engine cranks slowly or fails to start intermittently.
The starter solenoid clicks, but the motor doesn’t engage.
These problems often indicate a failed starter motor or issues with the solenoid. Troubleshooting these symptoms can help you pinpoint the exact cause.
Specific Symptoms by Vehicle Type
Cars: Dashboard lights dimming when starting
In cars, a faulty starter may cause the dashboard lights to dim when you turn the key. This happens because the starter draws excessive current, leaving less power for other electrical components. If you hear a loud click and the engine still doesn’t start, the issue likely lies with the starter motor or solenoid.
Motorcycles: Starter motor spinning without engaging
Motorcycles often show unique signs of starter failure. You might notice the starter motor spinning, but the engine doesn’t crank. This could result from a failed starter motor or a problem with the starter gear not engaging the flywheel. Electrical issues, such as corroded connections or a weak battery, can also contribute to this problem.
Riding mowers: Slow cranking or no response
For riding mowers, slow cranking or complete unresponsiveness are common symptoms. A weak battery, corroded cables, or a faulty starter solenoid can prevent the starter motor from receiving enough power. Regular maintenance can help you avoid these issues.
By understanding these symptoms, you can take the first step in troubleshooting your vehicle’s starting problems. Whether it’s a car, motorcycle, or mower, addressing these signs promptly can prevent further damage.
How to Test a Starter
Tools and Safety Precautions
Tools needed:
To test a starter effectively, you’ll need the following tools:
Multimeter: For checking electrical connections and measuring voltage.
Wrenches and sockets: To remove the starter or other components.
Wire brush: To clean corroded battery terminals.
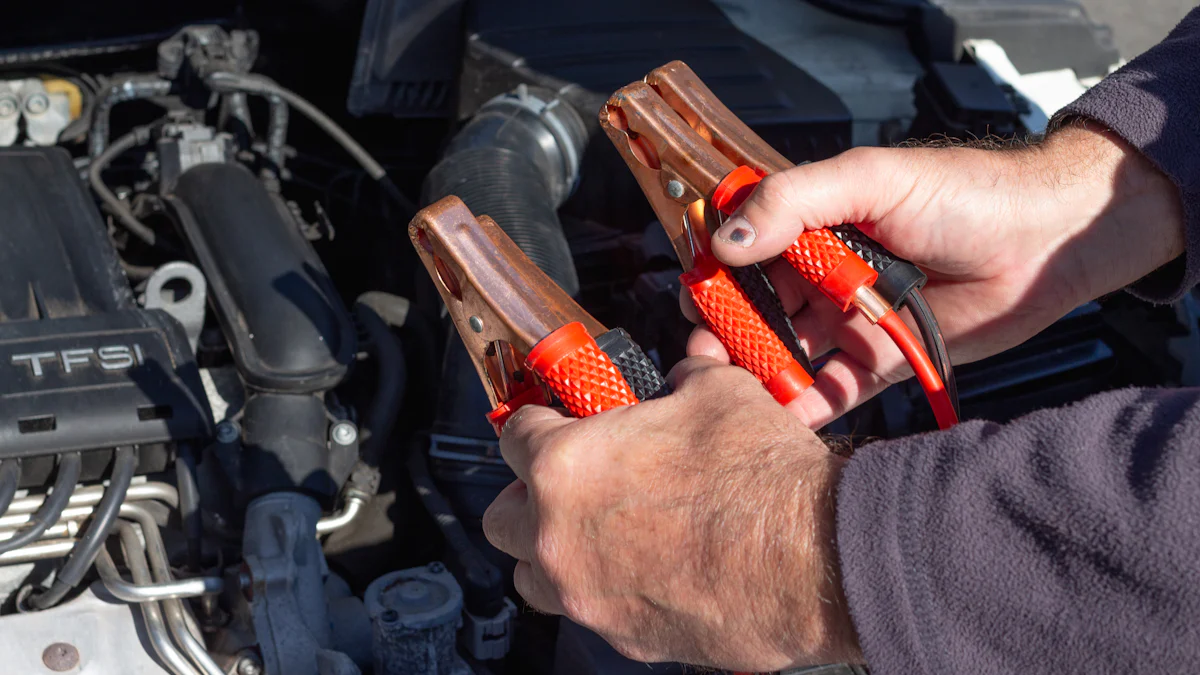
Jumper cables: For external testing of the starter motor.
Benchtop power supply: To apply power directly during bench testing.
Service manual or repair guide: For specific instructions tailored to your vehicle.
Safety tips:
Safety is crucial when working on a starter. Follow these precautions:
Use jack-stands to support the vehicle if you need to access the starter motor underneath.
Have a helper assist with cranking the engine during tests.
Avoid shorting the starter solenoid to the ground when applying 12 volts.
Always disconnect the battery before starting any work.
Testing a Car Starter
Step 1: Check the battery voltage
Start by testing the battery. Use a multimeter to measure the voltage. A working battery should read at least 12.6 volts. If the voltage is low, charge the battery and retest. This step helps you check for a weak battery, which can mimic starter issues.
Step 2: Inspect the starter connections
Visually inspect the battery terminals and starter connections. Look for loose or corroded wires. Clean the terminals with a wire brush if needed. Ensure all connections are tight and secure.
Step 3: Perform a voltage drop test
Use a multimeter to perform a voltage drop test. Connect the multimeter’s leads to the battery and starter terminals. Have a helper crank the engine while you observe the readings. A significant voltage drop indicates resistance in the wiring or connections.
Step 4: Bench testing the starter motor
If the starter still doesn’t work, remove the starter for bench testing. Secure the starter on a flat surface. Attach jumper cables to the starter motor and connect them to a working battery. Use a wire to touch the starter’s small terminal to the positive post. If the starter pinion moves and spins, the motor is functional.
Testing a Motorcycle Starter
Step 1: Verify the battery charge
Check the battery voltage with a multimeter. It should read at least 12.5 volts. If the voltage is low, charge the battery and retest. A weak battery can prevent the starter from functioning.
Step 2: Inspect the starter relay and connections
Locate the starter relay and inspect its connections. Use a screwdriver to bypass the relay by shorting its terminals. If the starter motor cranks, the relay may need replacement.
Step 3: Test the starter motor with a multimeter
Disconnect the starter motor and test it with a multimeter. Measure the resistance between the motor’s terminals. A reading outside the manufacturer’s specifications indicates a faulty motor.
How to Test a Riding Mower Starter
Step 1: Check the battery and solenoid
Start by inspecting the battery and its cables. Use a multimeter to measure the battery voltage. A fully charged battery should read at least 12.6 volts. If the voltage is low, recharge the battery and test it again. Examine the battery cables for corrosion or damage. Clean the terminals with a wire brush to ensure proper electrical contact.
Next, test the starter solenoid. While attempting to start the mower, listen for a clicking sound from the solenoid. Use a multimeter to measure the voltage on the black post of the solenoid when it clicks. If no voltage is present, the solenoid may need replacement.
Step 2: Inspect the starter gear and flywheel
Check the starter gear for wear or damage. A worn gear may prevent the starter from engaging with the flywheel. Rotate the flywheel manually using a wrench on the flywheel bolt. If the flywheel does not turn, the engine may be seized. A seized engine will prevent the starter from cranking the engine, even if the starter motor is functional.
Step 3: Test the starter motor directly
If the battery and solenoid are in good condition, test the starter motor directly. Disconnect the starter motor cable and perform a voltage drop test. Attach jumper cables to the starter motor and connect them to a fully charged battery. If the starter motor does not spin or engage, it may have failed and require replacement.
Common issues detected during these tests include a weak battery, corroded cables, or a failed solenoid. If the solenoid clicks but the engine does not crank, the starter motor may be faulty. Addressing these problems promptly can restore your mower’s starting system.
Interpreting Test Results
Understanding the Results
Normal voltage readings
When testing the starter, normal voltage readings indicate that the electrical system is functioning correctly. A fully charged battery should show at least 12.6 volts when the engine is off. During cranking, the voltage may drop slightly but should remain above 10 volts. If the starter motor spins and engages the flywheel properly, the starter is likely in good condition. These results suggest that you may need to look elsewhere to determine if the starter is the problem.
Low voltage or no response
Low voltage readings often point to a weak or discharged battery. If the battery voltage drops below 10 volts during cranking, the starter may not receive enough power to function. No response from the starter could also indicate loose or corroded connections, a faulty solenoid, or damaged wiring. Addressing these issues can restore the starter’s performance.
Starter motor spins but doesn’t engage
If the starter motor spins without engaging the flywheel, the problem may lie in the solenoid or the starter gear. Inspect the solenoid to ensure it’s functioning correctly. Check the flywheel for damage or wear. If the starter spins freely but fails to engage, gently tapping the solenoid might help. Grinding noises could mean the bendix or flywheel needs replacement.
Next Steps After Testing
Repair or replace the starter
If testing reveals minor issues, you can repair the starter. Replace worn-out brushes or fix solenoid problems if possible. Tighten any loose connections and repair damaged wires. If the starter is old or severely damaged, replacing it is the best option. Before you replace the starter motor, test it directly to confirm the issue. Use tools like a multimeter and jumper cables to ensure accurate results.
Check for related issues (e.g., wiring, solenoid)
After testing, inspect the entire starting system for related problems. Examine the wiring for corrosion or damage. Test the ignition switch to ensure it’s working properly. If the solenoid clicks but the engine doesn’t crank, the solenoid may need replacement. Addressing these related issues can prevent future starting problems and ensure your vehicle operates smoothly.
Tip: Always use a service manual for specific instructions tailored to your vehicle. This ensures you follow the correct procedures during repairs.
Testing a starter becomes manageable when you have the right tools and follow proper steps. By recognizing symptoms early, you can diagnose issues and take action before they worsen. Use test results to decide whether to repair or replace the starter. If you still face problems or feel unsure, seek help from a professional mechanic. This ensures your vehicle stays reliable and avoids further complications.
FAQ
What should you do if the starter clicks but the engine doesn’t crank?
Check the battery voltage first. A weak battery often causes this issue. Inspect the starter solenoid and connections for damage or corrosion. If the solenoid clicks but the starter motor doesn’t engage, the motor may need repair or replacement.
Can you test a starter without removing it?
Yes, you can test it in place. Use a multimeter to check voltage at the starter terminals while cranking. Perform a voltage drop test to identify wiring issues. If the starter doesn’t respond, you may need to remove it for further testing.
How do you know if the problem is the battery or the starter?
Test the battery voltage with a multimeter. A healthy battery reads 12.6 volts or higher. If the battery is fine but the engine doesn’t crank, inspect the starter and solenoid. A clicking sound often points to a starter issue.
Is it safe to tap the starter to make it work?
Tapping the starter can temporarily free a stuck pinion gear or brushes. Use a rubber mallet to avoid damage. This is a short-term fix. You should test the starter and repair or replace it to prevent future problems.
How often should you check your starter system?
Inspect the starter system during routine maintenance or if you notice starting issues. Check the battery, wiring, and connections every six months. Regular inspections help you catch problems early and avoid unexpected breakdowns.
Tip: Always keep a multimeter and jumper cables in your vehicle. These tools can help you diagnose starter issues quickly.
See Also
Essential Tips for Choosing the Right Car Relays
Exploring Various Capacitor Types and Their Unique Traits
The Reason Behind Welding Microwave Transformer Cores in 2025
Understanding the Roles of Circuit Board Components in Electronics
Key Considerations for Understanding Voltage Regulator Modules
