Step-by-Step Guide to Checking an Outlet for Power with a Multimeter
You can learn to check an outlet for power with a multimeter by following easy steps and being safe. Multimeters help you measure voltage in home outlets. This lets you see if your outlet works and keeps you safe from danger. Always read your multimeter’s manual before starting. Knowing how to check an outlet for power helps you feel sure about doing simple electrical jobs. It also helps stop shocks or fires. With the right steps, even beginners can learn to check an outlet for power safely.
Key Takeaways
Always turn off the power at the circuit breaker first. This helps you avoid getting shocked.
Use a digital multimeter in AC voltage mode to check the outlet. The correct voltage is usually between 110 and 120 volts.
Wear insulated gloves and safety goggles for protection. Hold the probes with one hand to lower shock risk.
Put the black probe in the neutral slot. Put the red probe in the hot slot. This is how you measure voltage the right way.
To test grounding, measure voltage between the hot and ground slots. A good ground will show about the same voltage as hot-neutral.
To check for reversed polarity, swap the probes. Voltage should only show when the red probe is in the hot slot.
If you see strange readings, sparks, buzzing, or smell burning, stop right away. Call a licensed electrician for help.
Take care of your multimeter by storing it safely. Check the leads for damage. Calibrate it often to keep it working right.
Quick Start
How to Check an Outlet for Power
You can check if an outlet works by using a multimeter. This tool helps you see if electricity flows through the outlet. Before you start, always think about safety. Make sure you read your multimeter’s manual. Wear insulated gloves and safety goggles to protect yourself.
Tip: Always turn off the power at the circuit breaker before you begin. This step keeps you safe from electric shock.
When you want to know how to check an outlet for power, you need to set your multimeter to measure AC voltage. Most outlets in the U.S. give about 120 volts. If you see a number close to this, your outlet works. If you see zero or a much lower number, the outlet may have a problem.
Testing outlets with a multimeter helps you find wiring issues or reversed polarity. Reversed polarity can cause shocks or damage your devices. If you feel unsure at any step, call a licensed electrician. Outlet testing is safe if you follow each step and use the right tools.
Overview of Steps
You can follow these steps to test outlets quickly and safely:
Turn off the power at the circuit breaker before you start.
Put on insulated gloves and safety goggles.
Set your multimeter to measure AC voltage. Choose a range above 120V, such as 200V.
Check that your multimeter probes are in good condition.
Insert the black probe into the neutral slot (the larger slot).
Insert the red probe into the hot slot (the smaller slot). Do not touch the metal parts of the probes.
Turn the power back on at the breaker.
Read the voltage on the multimeter display. A normal reading is between 110V and 120V.
To test the ground, move the red probe to the ground slot while keeping the black probe in neutral.
For extra safety, reverse the probes to check for reversed polarity. The voltage should stay positive.
Turn off the power before removing the outlet cover or making repairs.
If you see strange readings or feel unsure, stop and call a professional.
Note: Testing outlets in a dry area lowers the risk of shock. Never touch both probes at the same time.
Learning how to check an outlet for power gives you confidence. You can test outlets in your home and spot problems early. If you ever feel unsure, remember that safety comes first. Test an outlet only when you feel ready and have the right tools.
Safety Tips
Essential Precautions
You need to be careful when you test an outlet. Always read your multimeter manual before you start. This helps you know how to use it right. Follow every safety rule to keep yourself safe from shock or harm.
Turn off the power at the circuit breaker before you do anything. This is the most important step for safety.
Wear insulated gloves and safety goggles to protect yourself.
Use only one hand to touch the probes. Keep your other hand away from the outlet to lower shock risk.
Always put the neutral probe in first. This helps stop short circuits.
Take out the probes safely after you finish. Do not touch the metal parts.
Check your multimeter on a working outlet before and after you use it.
Use insulated screwdrivers and pliers to avoid touching live wires.
If you feel unsure or see damage, stop and call a professional.
Tip: Test your outlets and wiring often. This helps stop shocks, fires, and big repair bills. Check every year or after you change your electrical system to keep your home safe.
You should also use lockout/tagout steps. Lock the switch in the OFF spot and put a tag on it. This tells others not to turn it back on. These steps help you test outlets safely and avoid accidents.
Common Mistakes
People sometimes make mistakes when testing outlets. These mistakes can cause big safety problems. You can avoid them by following clear steps and paying attention.
Impact on Safety | |
|---|---|
Not turning off power before testing | High risk of shock or injury |
Relying on a single meter without verification | May miss live circuits, causing shocks |
Skipping lockout/tagout procedures | Increases chance of accidental re-energizing |
Using damaged or untested tools | Can give false readings or cause harm |
Handling both probes at once | Raises risk of electrical shock |
Overloading or forcing dead outlets | Can spark fires or damage property |
Always check your meter on a working outlet before and after you test. Never skip this step. If you use only one meter and it does not work, you might miss a live wire. Always make sure there is no power before you touch any wires. If you feel unsure, stop and ask a licensed electrician for help.
Note: Not paying attention is a big reason for electrical accidents. Stay focused, follow each step, and never hurry.
If you follow these tips and steps, you can test any outlet in your home safely. Remember, safety is always the most important thing when you work with electricity.
Tools Needed
Multimeter Basics
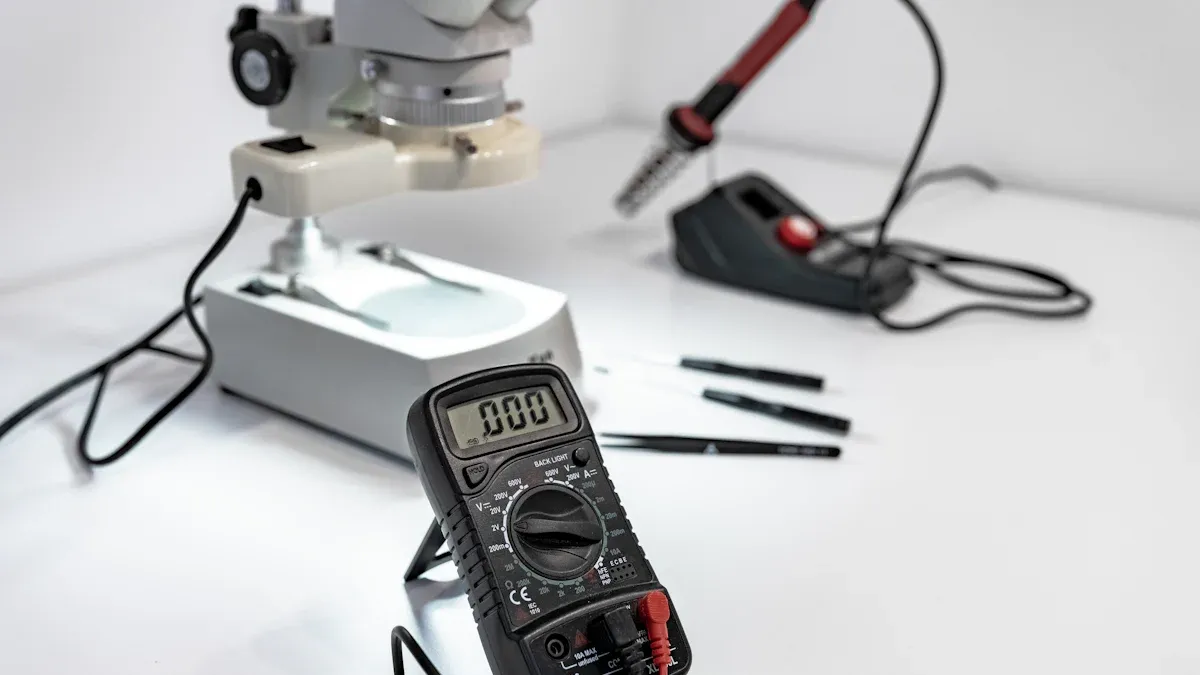
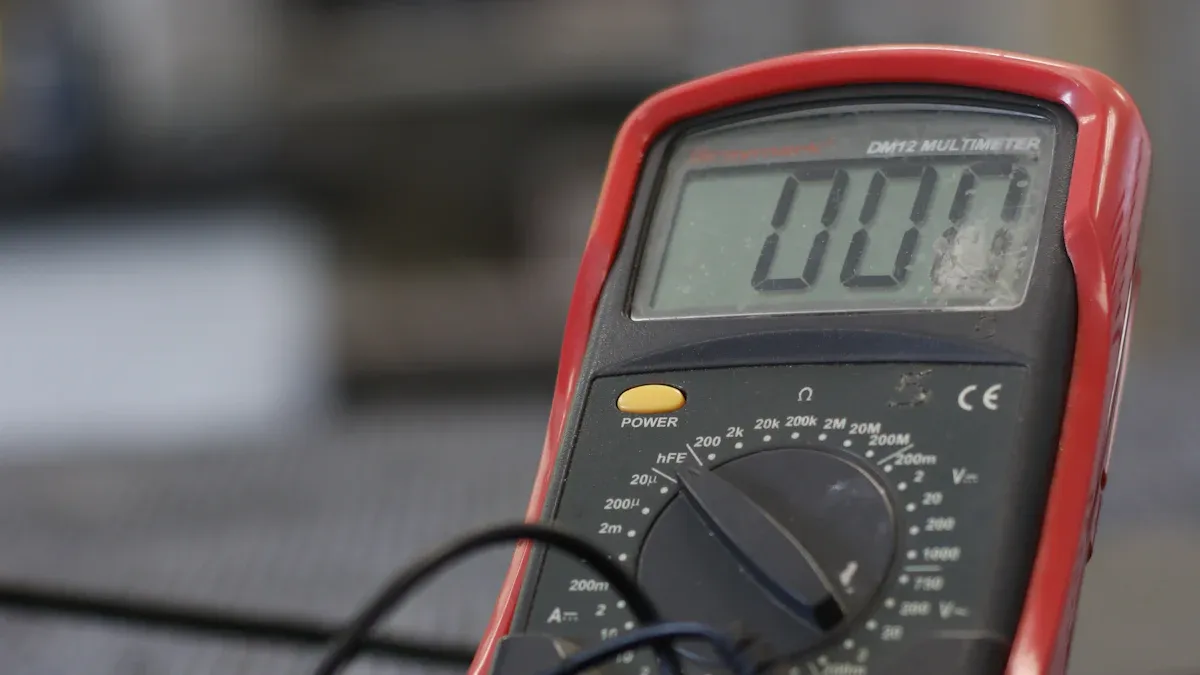
You need a good digital multimeter to test outlets safely. A digital multimeter can measure voltage, current, and resistance. Most have a clear screen, strong case, and simple buttons. When picking a digital multimeter, look for auto-ranging, backlight, and non-contact voltage detection. These features help make testing easier and safer.
Some popular models for home use are the Fluke 117, Crenova MS8233D, AstroAI 6000, Klein Tools MM400, and Greenlee DM-45. The Fluke 117 and Crenova MS8233D are very accurate, usually about ±0.5%. Auto-ranging picks the right range for you, so you do not have to guess. Some meters also have hold, min/max, and strong kickstands.
Tip: Always check if your digital multimeter has a safety rating for home use. Look for CAT II or CAT III on the label.
You should also make sure your meter is calibrated. Calibration means your meter gives correct numbers. Trusted sellers like Keysight sell calibrated used meters. These can save you money and still work well. Regular calibration and care keep your meter working right.
Safety and reliability are important when working with electricity. Pick a digital multimeter from a trusted brand. Make sure it meets OSHA and NFPA safety rules. Always use the right probes and parts for your meter. Before you start, check your settings and test your meter on a working outlet.
Here is a quick table to compare features:
Feature | Basic Models | Advanced Models |
|---|---|---|
Auto-ranging | Sometimes | Yes |
Backlight | Sometimes | Yes |
Non-contact voltage | Rare | Yes |
Accuracy | ±1% | ±0.5% |
Safety rating | CAT II | CAT III or higher |
Outlet Identification
You need to know the parts of a household outlet before using a multimeter. Most outlets in the U.S. have three slots:
Hot slot: This is the smaller slot. It carries the live current.
Neutral slot: This is the larger slot. It completes the circuit.
Ground slot: This is the round or U-shaped hole. It gives a safe path for extra electricity.
When you look at the outlet, the hot slot is on the right, the neutral slot is on the left, and the ground slot is at the bottom. Always find these slots before you test. This helps you put the probes in the right places and avoid mistakes.
Note: Never touch the metal parts of the probes when testing. Hold only the insulated handles.
You can find outlets in kitchens, bedrooms, and living rooms. Some outlets have a test and reset button. These are called GFCI outlets. They protect you from shocks in wet places. Always check what kind of outlet you have before testing.
Knowing your outlet type and the right slots helps you get correct results with a multimeter. This step keeps you safe and makes testing easier.
How to Test an Outlet
Set Multimeter to AC Voltage
You need to set your multimeter to the correct mode before you test an outlet. Most household outlets use alternating current (AC), so you must select the AC voltage setting. Look for a symbol that shows a "V" with a wavy line (~) next to it. This symbol means AC voltage.
Turn the dial on your multimeter to the AC voltage section. If your meter has a range, pick a setting above 120 volts, such as 200V. This keeps your meter safe from overload. Some meters have auto-ranging, which picks the best range for you. Always check your multimeter’s manual for proper multimeter settings.
Tip: Test your multimeter on a known working outlet before you start. This step helps you know your meter works and gives you confidence.
A standard U.S. outlet should show between 110 and 120 volts. If you see a number below 110 volts, you might have a wiring problem. If you see a number above 125 volts, stop and call a professional. High voltage can be dangerous.
System Type | Acceptable Voltage Range | |
|---|---|---|
120V, Single Phase | 110 - 126 volts | 106 - 128 volts |
120/240V, Single Phase | 110/220 - 126/252 volts | 106/212 - 127/254 volts |
Probe Placement
Hot, Neutral, Ground Slots
You need to know where to put the probes when you test an outlet. Each outlet has three slots:
Hot slot: The smaller slot on the right. This slot carries live current.
Neutral slot: The larger slot on the left. This slot completes the circuit.
Ground slot: The round or U-shaped hole at the bottom. This slot provides a safe path for extra electricity.
When you measure voltage, you use the hot and neutral slots first. You can also use the ground slot to check grounding and polarity.
Proper Order for Probes
You must use the correct order when placing the probes. This step keeps you safe and helps you get the right reading.
Insert the black probe into the neutral slot first. This step lowers your risk of shock.
Insert the red probe into the hot slot next. Do not touch the metal parts of the probes.
Hold the probes steady and keep your fingers on the insulated handles.
Note: Always use one hand when you test voltage. Keep your other hand away from the outlet. This step helps prevent electric shock.
If you want to check the ground, move the red probe to the ground slot while keeping the black probe in the neutral slot. This method helps you test an outlet for proper grounding.
How to Test Voltage
Now you are ready to test voltage. Follow these steps to measure voltage safely and accurately:
Insert the black probe into the neutral slot.
Insert the red probe into the hot slot.
Look at the display to check the voltage. A good outlet should show about 120 volts.
Move the red probe to the ground slot to test voltage between hot and ground. The reading should stay the same.
To check for wiring problems, test voltage between neutral and ground. You should see zero or a very low number.
When you measure the voltage, you want to see a number between 110 and 120 volts. This range means your outlet works well. If you see a number outside this range, you may have a wiring issue or a faulty outlet.
Callout: If you see sparks, hear buzzing, or feel warmth from the outlet, stop testing right away. These signs mean you need a professional to check the wiring.
You can use this step-by-step method every time you test an outlet. Always follow safe probe placement and proper multimeter settings. This process helps you measure voltage, check the outlet, and avoid mistakes.
If you want to learn how to test an outlet or how to test voltage, practice these steps with care. Checking the voltage in your outlets helps you find problems early and keeps your home safe.
Read and Interpret Results
After you place the probes and turn on your multimeter, you will see numbers appear on the screen. These numbers show the voltage in your outlet. You need to know what these numbers mean to stay safe and fix problems.
What to Look For
A normal reading for a standard U.S. outlet is between 110 and 120 volts.
If you see a number in this range, your outlet works as it should.
If you see zero, the outlet does not have power. You may have a tripped breaker or a loose wire.
If you see a number much lower than 110 volts, the outlet may have a wiring problem.
If the number is higher than 125 volts, stop using the outlet and call a professional.
Tip: Always write down your results. This helps you remember which outlets need repair.
How to Interpret Different Results
You can use this table to help you understand your readings:
Voltage Reading | What It Means | What You Should Do |
|---|---|---|
110-120 volts | Normal, outlet is working | Safe to use |
0 volts | No power | Check breaker, call electrician |
80-109 volts | Low voltage, possible issue | Do not use, get help |
121-125 volts | Slightly high, check again | Watch for changes |
Over 125 volts | Too high, unsafe | Stop use, call professional |
What If You Get Strange Results?
Sometimes, you may see numbers that jump around or do not make sense. This can happen if the probes do not touch the metal inside the slots. Try to hold the probes steady and test voltage again. If the numbers still look wrong, your outlet may have a bigger problem.
Callout: If you smell burning or see sparks, stop right away. Unplug everything and call an electrician.
Why Results Matter
When you measure voltage, you learn if your outlet is safe. You also find out if you need to fix anything. If you get a normal reading, you can use the outlet with confidence. If you get a strange reading, do not use the outlet until you fix the problem.
You should always test voltage in every outlet you want to use. This keeps your home safe and helps you avoid electrical accidents.
Testing Ground and Polarity
Check Grounding
You need to make sure every outlet in your home is properly grounded. A grounded outlet protects you from electric shock and helps prevent fires. When an outlet is grounded, extra electricity flows safely into the earth instead of through you or your devices.
Many studies show that testing grounding is a key part of electrical safety. Experts recommend checking outlets right after installation to catch wiring mistakes, like open neutrals or missing grounds. If you skip this step, you risk shock, fire, or damage to your appliances. Some buildings have outlets that look safe but are not truly grounded. This can happen even if you see three holes in the outlet. Always test to confirm the outlet is grounded.
To check grounding with a multimeter, follow these steps:
Set your multimeter to AC voltage mode.
Insert the black probe into the ground slot (the round hole).
Insert the red probe into the hot slot (the smaller vertical slot).
Read the voltage on the display.
A grounded outlet should show a voltage reading similar to the one you saw between hot and neutral (usually 110-120 volts). If you see a much lower number or zero, the outlet is not grounded. You should not use outlets that are not grounded.
Tip: The National Electrical Code (NEC) gives clear rules for grounding and bonding. Always follow these rules to keep your home safe.
Technical studies also suggest using non-invasive methods and ground checkers for extra safety. These tools help you test grounding without opening walls or causing damage. Good grounding keeps all metal parts at the same voltage, which stops shocks and protects your equipment.
Test Polarity
Testing polarity means checking if the hot and neutral wires are in the correct spots. If the wires are reversed, you could get shocked or damage your devices. You need to test polarity every time you install or repair an outlet.
Follow these steps to test polarity with a multimeter:
Set your multimeter to AC voltage.
Put the black probe in the neutral slot (the larger vertical slot).
Put the red probe in the hot slot (the smaller vertical slot).
Check the voltage. You should see 110-120 volts.
Now, swap the probes: put the red probe in the neutral slot and the black probe in the hot slot.
If you see a voltage reading in this position, the outlet has reversed polarity.
A properly wired and grounded outlet will only show voltage when the red probe is in the hot slot and the black probe is in the neutral slot. If you see voltage both ways, the wiring is wrong. You should not use outlets with reversed polarity.
Note: Always hold the probes by the insulated handles. Never let the metal tips touch each other or your skin.
Testing both grounding and polarity is not just a good idea—it is essential. Case studies show that poor grounding or reversed polarity can cause fires, shocks, and equipment failure. You keep your home safe when you make sure every outlet is grounded and wired correctly.
Continuity Testing
Set to Ohms or Continuity
You can use your multimeter to check if electricity can flow through an outlet’s wiring. This process is called continuity testing. It helps you find broken wires or loose connections inside the outlet. Before you start, always make sure the power is off. Use a voltage tester to double-check that the outlet is not live. This step keeps you safe and protects your multimeter from damage.
To set your multimeter for continuity testing, follow these steps:
Turn off the circuit breaker for the outlet you want to test.
Set your multimeter dial to the continuity mode. Look for a symbol that looks like a sound wave or a diode.
Plug the black lead into the "COM" port and the red lead into the port marked with the ohm symbol (Ω) or continuity symbol.
Check your test leads for any damage. Frayed wires or loose connections can give you false readings.
Touch the two probes together. Your meter should beep or show a very low resistance number. This means your meter works.
Tip: Always use the lowest resistance range for better accuracy. Higher settings can give you the wrong results.
Research shows that you must test only when the circuit is off. If you test a live circuit, you can get wrong readings or even break your meter. The multimeter sends a small voltage through the wires to check if they connect. If the wires connect, you hear a beep or see a low number. If not, you see a high number or nothing at all.
Test Outlet Connections
Now you are ready to test the outlet’s connections. Remove the outlet cover if needed, but only after you confirm the power is off. Place one probe on the screw or terminal for the hot wire and the other probe on the matching slot or wire. Repeat this for the neutral and ground connections.
A beep or a reading close to zero means the wire connects well. No beep or a high number means the wire is broken or loose. You can use this method to check if the ground wire connects from the outlet to the main panel.
Probe Placement | Expected Result | What It Means |
|---|---|---|
Hot to Hot terminal | Beep/Low resistance | Good connection |
Neutral to Neutral | Beep/Low resistance | Good connection |
Ground to Ground | Beep/Low resistance | Ground connected |
Any to Broken wire | No beep/High number | Broken or loose wire |
⚠️ Note: Continuity testing only shows if a path exists. It does not prove the wire can handle high current. Industry research explains that continuity tests use low current and cannot check if the wire is strong enough for real-world faults. For full safety, electricians use a Ground Bond test, which uses higher current to make sure the ground wire can carry fault currents. You can use continuity testing for basic checks, but always call a professional if you suspect a bigger problem.
By following these steps, you can find simple wiring issues in your outlets. This helps you keep your home safe and your electrical system working well.
Understanding Results
Normal Voltage
When you finish outlet tests, you want to see a voltage reading between 110 and 120 volts. This range means your outlet works as it should. You can plug in your devices with confidence. Most homes in the United States use this voltage for standard outlets. If your voltage checks show numbers in this range, your wiring and connections are likely safe.
✅ Tip: Write down your results for each outlet. This helps you track which outlets are safe and which need more attention.
A normal reading also means your circuit breaker and wiring handle the electrical load well. You do not need to take extra steps if you see these numbers. Keep testing your outlets once a year to make sure everything stays safe.
No Power or Abnormal Reading
Sometimes, your multimeter shows zero volts or a number much lower than 110 volts. This result means your outlet does not have power or has a problem. You might see this if a breaker trips, a wire comes loose, or the outlet wears out. If you see a number higher than 125 volts, stop using the outlet right away.
Reading | What It Means | What You Should Do |
|---|---|---|
0 volts | No power | Check breaker, call a pro |
80-109 volts | Low voltage, possible issue | Do not use, get help |
Over 125 volts | Too high, unsafe | Stop use, call electrician |
You may also notice other signs of trouble. Flickering lights, buzzing sounds, or a burning smell can point to bigger issues. If you feel a shock when plugging in a device, stop and get help. These signs mean you need to start diagnosing electrical problems right away.
Troubleshooting
You can troubleshoot outlet problems by following a few clear steps. Many experts and studies suggest these actions to keep your home safe:
Identify common issues during outlet testing. Look for faulty wiring, circuit breaker problems, power surges, reversed polarity, missing grounding, or poor-quality outlets.
Watch for warning signs. Flickering lights, shocks, tripped breakers, burning smells, buzzing, or hot outlets all signal trouble.
Check if your electrical system can handle the load. Too many devices on one circuit can cause low voltage or tripped breakers.
Schedule regular inspections with a licensed electrician. They can spot worn wires, loose connections, or outdated parts.
Upgrade your circuit breakers if you add new or high-power appliances. This helps prevent overloads and keeps your system safe.
Install surge protectors to guard against power surges. These devices absorb extra voltage and protect your electronics.
Avoid fixing wiring yourself. DIY repairs can be dangerous. Always call a professional for diagnosis and repair.
⚡ Note: Never ignore warning signs. Quick action can prevent fires and protect your family.
By following these steps, you make sure your home stays safe. You also learn how to spot and fix problems before they get worse. Outlet tests and voltage checks help you find issues early. When you troubleshoot outlet problems the right way, you protect your home and everyone in it.
What to Do Next
If Outlet Fails Test
When your outlet does not pass the test, you need to take careful steps. Do not use the outlet until you know it is safe. Start by stopping all testing right away if you see unexpected results. This helps prevent accidents or damage.
You should follow these steps if your outlet fails:
Stop using the outlet and unplug any devices.
Double-check your multimeter on another working outlet to make sure your tool works.
Review your multimeter’s manual for troubleshooting tips. Many manuals have a section for handling errors or strange readings.
Repeat the test on the same outlet. Sometimes, a probe may slip or not touch the metal inside the slot. Make sure you follow the correct steps and timing.
If the reading still looks wrong, check for loose wires or signs of damage around the outlet. Look for burn marks, cracks, or a burning smell.
Write down your test results and any problems you notice. Keeping records helps you track changes over time.
Test other outlets nearby. Sometimes, a problem in one outlet can affect others on the same circuit.
If you cannot find the cause or the problem continues, contact the manufacturer of your multimeter or a technical support line for help.
Keep contact information for technical support and local electricians in a place you can find quickly.
⚠️ Alert: Never try to fix wiring or outlets if you do not feel sure about what you are doing. Mistakes can cause shocks or fires.
You should also test outlets after any repairs or changes. This helps you catch new problems early. Always follow the exact steps in your multimeter’s manual to avoid mistakes.
When to Call a Pro
Some problems need a licensed electrician. You should call a professional if you see any of these signs:
The outlet shows zero volts, but the breaker is on.
You see sparks, smoke, or burn marks.
The outlet feels hot or smells like burning plastic.
You find loose wires or broken parts inside the outlet box.
The voltage reading stays too high or too low after you repeat the test.
You feel unsure about any step or result.
A professional can find hidden problems in your wiring. Electricians have special tools and training to fix outlets safely. They can also check your whole electrical system for other risks.
Problem Found | What You Should Do |
|---|---|
No power at outlet | Call an electrician |
Burn marks or smoke | Stop use, call a pro |
Repeated test failures | Get expert help |
Hot or buzzing outlet | Do not use, seek help |
💡 Tip: Keep your home safe by scheduling regular electrical checks. Early action can prevent bigger problems later.
You protect your family and property when you call a pro for help. Never ignore warning signs or try risky repairs. Your safety always comes first.
Testing an Outlet: Tips
Best Practices
You can make outlet testing safer and more reliable by following proven best practices. Industry research and safety statistics show that these steps help prevent accidents and ensure accurate results.
Use a digital multimeter for all your tests. This tool lets you measure voltage, check polarity, test grounding, and verify continuity.
Always test voltage first. Insert the probes into the outlet slots and look for a reading between 110 and 120 volts. This confirms the outlet has the right power.
Check grounding by measuring voltage between the outlet slots and the ground point. If you do not see voltage where you expect it, the outlet may not be grounded properly.
Test polarity to make sure the hot and neutral wires are in the correct places. This step helps prevent dangerous wiring mistakes.
Turn off the power before you disconnect any outlets or perform continuity tests. This reduces your risk of electric shock.
Identify the hot wire by isolating each wire and testing for voltage with the power on. This helps you find the correct circuit.
Hold both meter probes in the same hand when possible. This simple habit lowers your risk of shock.
🛡️ Tip: Write down your results for each outlet. Keeping records helps you spot changes or problems over time.
You should also stay alert for signs of trouble, such as buzzing sounds, sparks, or a burning smell. If you notice anything unusual, stop testing an outlet and call a professional.
Multimeter Care
Taking care of your multimeter keeps it accurate and safe to use. Good habits help your tool last longer and give you better results.
Store your multimeter in a dry, cool place. Keep it away from water and dust.
Check the test leads for cracks or wear before each use. Replace damaged leads right away.
Clean the meter with a soft, dry cloth. Do not use harsh cleaners or water.
Remove the batteries if you will not use the meter for a long time. This prevents battery leaks.
Calibrate your multimeter once a year or as the manual suggests. Calibration keeps your readings correct.
Use only the probes and accessories made for your model. Other parts may not fit or work safely.
After each test, turn off the meter and store it in its case.
⚡ Note: A well-cared-for multimeter gives you safer and more reliable results every time you test.
By following these tips, you protect yourself and your equipment. You also make sure your electrical tests are as accurate as possible.
You can check an outlet for power by following a clear, step-by-step process. Start by setting goals and using your multimeter safely. Test voltage, grounding, and polarity. Analyze your results and record them. This method helps you avoid mistakes and keeps your home safe. If you feel unsure, ask a professional for help. Practice builds your confidence. You can use both your results and feedback to improve your skills. Stay safe and keep learning—every test makes you a better DIYer!
FAQ
How do you know if your multimeter is working before testing an outlet?
You can test your multimeter by measuring a battery you know works. Set the meter to DC voltage, touch the probes to the battery ends, and check for a reading. If you see the expected voltage, your multimeter works.
Can you get shocked when testing an outlet with a multimeter?
Yes, you can get shocked if you touch the metal probe tips or wires. Always hold the insulated parts of the probes. Wear safety gloves and goggles. Never test with wet hands or in damp areas.
What should you do if your outlet shows no voltage?
First, check the circuit breaker. If it is on, test another outlet to make sure your multimeter works. If the outlet still shows no voltage, stop using it and call a licensed electrician.
Why does your multimeter show a low voltage reading at the outlet?
A low voltage reading can mean loose wires, a bad connection, or too many devices on one circuit. Unplug devices and test again. If the problem stays, ask a professional for help.
Can you use a multimeter to test GFCI outlets?
Yes, you can test GFCI outlets with a multimeter. Follow the same steps as for a regular outlet. After testing, press the "Test" and "Reset" buttons to make sure the GFCI works.
What does it mean if you get a reading when testing between neutral and ground?
A small voltage between neutral and ground is normal. If you see a high voltage, your outlet may have a wiring problem. Stop using the outlet and contact an electrician.
Do you need to turn off the power before using a multimeter on an outlet?
You must turn off the power before removing the outlet cover or doing continuity tests. For voltage tests, the power stays on. Always follow safety steps and use one hand when testing live outlets.
See Also
Step-By-Step Guide To Testing Zener Diodes Easily
Testing Starters On Cars Motorcycles And Lawn Mowers
Effective Methods To Test Diodes Within Electrical Circuits
Using A Multimeter To Test HVAC Capacitors Quickly
Accurate Testing Techniques For Diodes Installed In Circuits
